How to Import Suppliers in QuickBooks Online: A Step-by-Step Guide
Dec 27
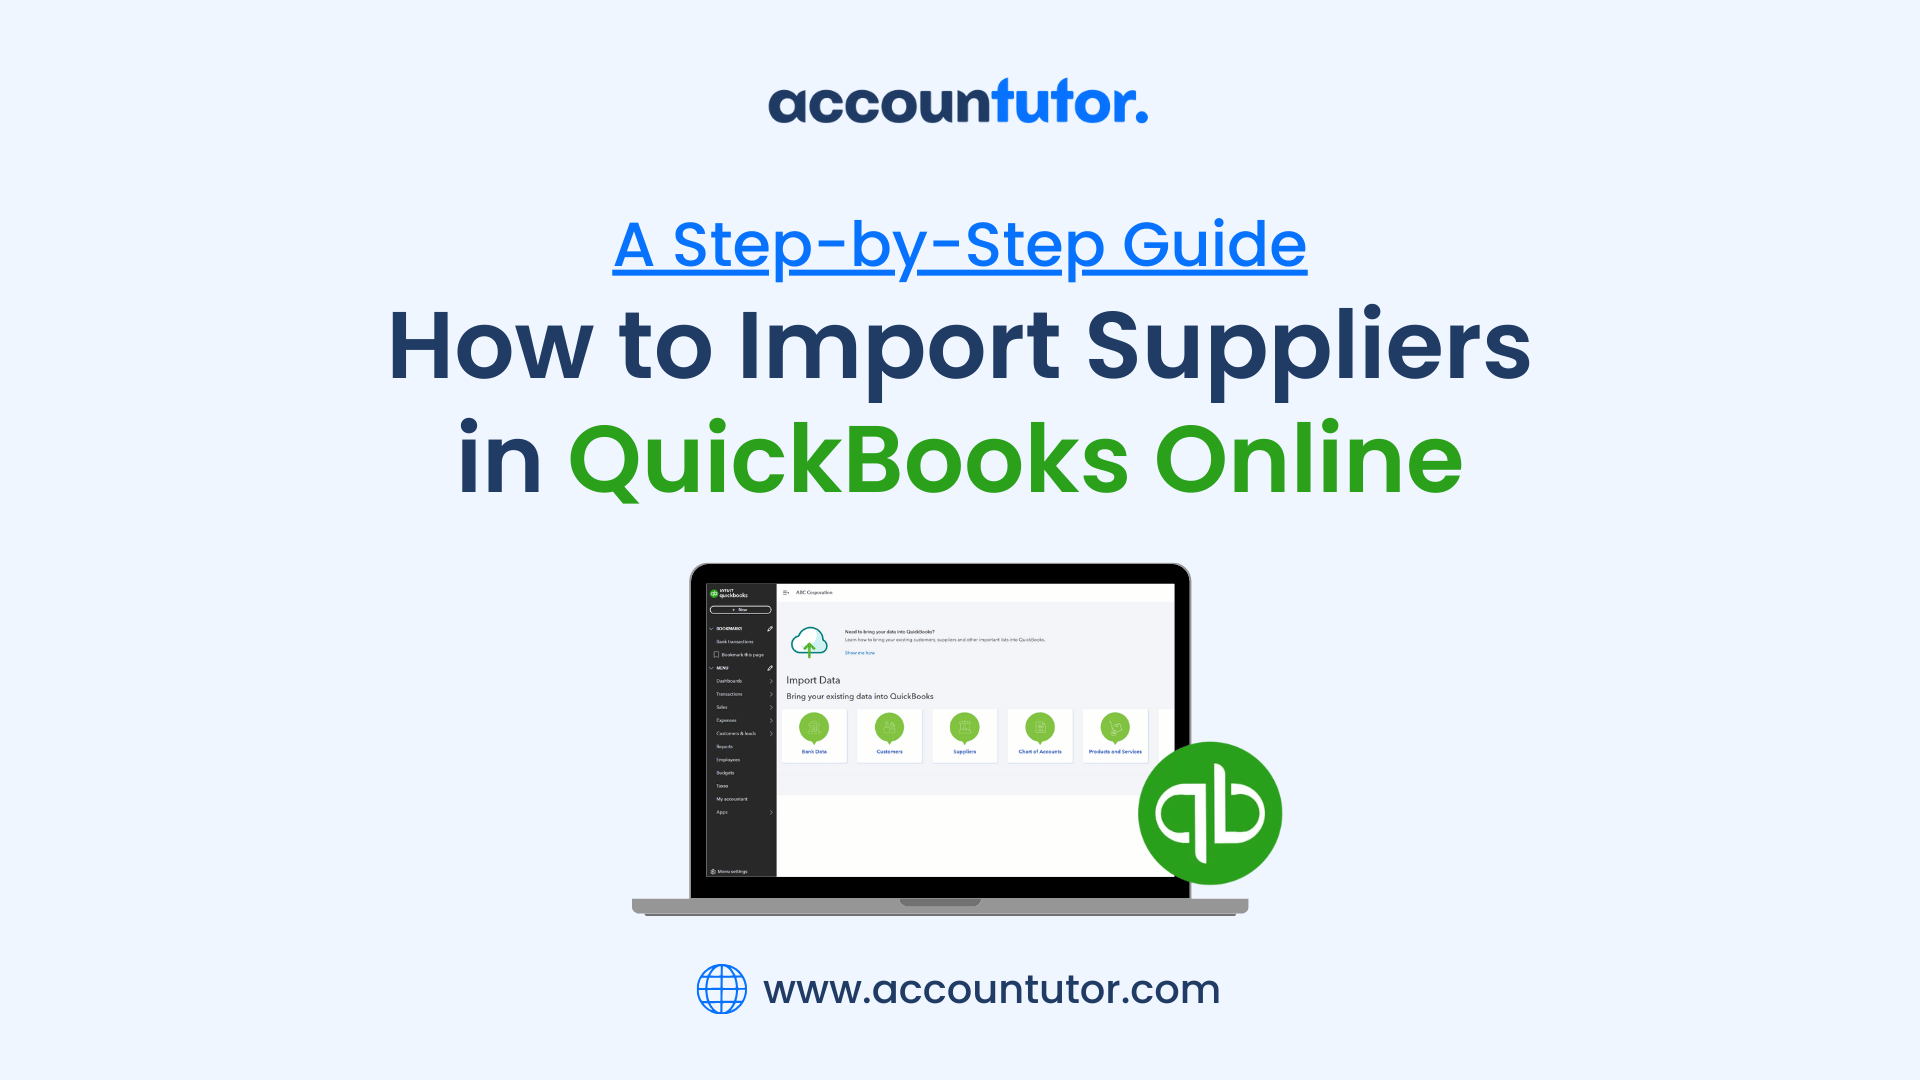
Introduction
Are you struggling to keep your supplier information organized in QuickBooks Online? Or perhaps you’re looking for a faster way to update your vendor database? This guide is designed to assist you every step of the way.
Efficiently managing supplier information is key to seamless business operations, and importing suppliers into QuickBooks Online can save you time and effort. Whether you're setting up QuickBooks for the first time or updating your vendor database, this guide will walk you through the process. We’ll provide step-by-step instructions, practical tips, and highlight common mistakes to help you master supplier management.
Efficiently managing supplier information is key to seamless business operations, and importing suppliers into QuickBooks Online can save you time and effort. Whether you're setting up QuickBooks for the first time or updating your vendor database, this guide will walk you through the process. We’ll provide step-by-step instructions, practical tips, and highlight common mistakes to help you master supplier management.
Why Importing Suppliers in QuickBooks Online Matters
Importing supplier data into QuickBooks Online allows you to:
- Save time by uploading multiple suppliers at once.
- Maintain organized and accurate records.
- Generate detailed vendor and expense reports effortlessly.
- Avoid duplicate entries and manual errors.
Proper supplier setup ensures smooth accounts payable processes and reliable financial reporting.
Step 1: Prepare Your Supplier Data
Create a Spreadsheet: Use Excel or Google Sheets to list all your supplier details. Include essential columns such as:
Ensure Data Accuracy: Double-check for typos or missing fields to avoid errors during the import process.
Tip: Use a consistent format, especially for phone numbers and addresses, to ensure a smooth upload.
- Supplier Name
- Email Address
- Phone Number
- Billing Address
- Payment Terms
Ensure Data Accuracy: Double-check for typos or missing fields to avoid errors during the import process.
Tip: Use a consistent format, especially for phone numbers and addresses, to ensure a smooth upload.
Step 2: Log in to QuickBooks Online
Navigate to the Settings Menu: Click the Gear Icon at the top-right corner of the dashboard.
Select Import Data: Under the “Tools” section, choose Import Data, then select Suppliers.
Tip: If you’re importing suppliers for the first time, ensure your QuickBooks plan supports this feature.
Select Import Data: Under the “Tools” section, choose Import Data, then select Suppliers.
Tip: If you’re importing suppliers for the first time, ensure your QuickBooks plan supports this feature.
Step 3: Upload Your Supplier File
Choose Your File: Click Browse and upload the spreadsheet containing your supplier data. Ensure the file is saved as a CSV (Comma-Separated Values) format.
Match Your Fields: QuickBooks will prompt you to map the columns in your file to its fields (e.g., Supplier Name, Email Address).
Review and Confirm: After mapping, review the data to confirm that all details are correct.
Common Mistake: Skipping the field mapping step can result in missing or misplaced data.
Step 4: Finalize the Import
Start the Import: Once everything looks good, click Import to upload your supplier list.
Review the Results: QuickBooks will notify you if any rows couldn’t be imported. Fix any errors and re-upload the corrected file if needed.
Tip: Use the search bar in the Vendors section to quickly verify if the imported suppliers appear correctly.
Review the Results: QuickBooks will notify you if any rows couldn’t be imported. Fix any errors and re-upload the corrected file if needed.
Tip: Use the search bar in the Vendors section to quickly verify if the imported suppliers appear correctly.
Step 5: Organize Your Supplier List
Group Suppliers: Use categories or tags to organize suppliers by type (e.g., materials, services).
Add Missing Details: After importing, review each supplier and add extra details like default payment terms or expense accounts.
Common Mistake: Forgetting to update incomplete supplier profiles can lead to issues with payments and reports.
Add Missing Details: After importing, review each supplier and add extra details like default payment terms or expense accounts.
Common Mistake: Forgetting to update incomplete supplier profiles can lead to issues with payments and reports.
Tips for a Successful Supplier Import
Clean Up Duplicates: Check for existing suppliers in QuickBooks to avoid duplicate entries during the import process.
Standardize Formats: Use consistent capitalization and formatting for names and addresses for a professional, clean supplier list.
Test with a Small File: If you’re importing for the first time, try uploading a smaller dataset to ensure the process works smoothly.
Standardize Formats: Use consistent capitalization and formatting for names and addresses for a professional, clean supplier list.
Test with a Small File: If you’re importing for the first time, try uploading a smaller dataset to ensure the process works smoothly.
Common Mistakes to Avoid in QuickBooks Online
Skipping Data Review: Failing to double-check your file for errors can result in incorrect or incomplete imports.
Using the Wrong File Format: Always save your file as a CSV before uploading.
Incomplete Mapping: Not mapping all fields correctly can cause missing data after import.
Using the Wrong File Format: Always save your file as a CSV before uploading.
Incomplete Mapping: Not mapping all fields correctly can cause missing data after import.
Make Learning Easier with Resources
For a deeper understanding of QuickBooks
Online, consider using the following resources:
QuickBooks Help Center: Find articles and tutorials on various features.
QuickBooks Community: Join discussions and ask questions from experienced users.
Accountutor: Enroll in the Mastering QuickBooks Online course for comprehensive learning, including real-life scenarios and hands-on exercises.
QuickBooks Help Center: Find articles and tutorials on various features.
QuickBooks Community: Join discussions and ask questions from experienced users.
Accountutor: Enroll in the Mastering QuickBooks Online course for comprehensive learning, including real-life scenarios and hands-on exercises.
ONLY FOR YOU: Download QuickBooks Online Cheat Sheet
Why Choose "Mastering QuickBooks Online" from Accountutor?
On-Demand Video Course
4.5 Hours
1 Year Access
Cases &
Practice Sets
Certification by:
accountutor.com
Join 350+ Accounting and Bookkeeping Professionals Mastering QuickBooks Online with accountutor.com
Latest from our blog
Accounting and Bookkeeping courses for you
Subscribe to our newsletter
Stay informed with the latest accounting tips, tools, and updates from Accountutor right in your email inbox.
Thank you!
Policy Pages
Download QuickBooks Online PDF Guide
Thank you!
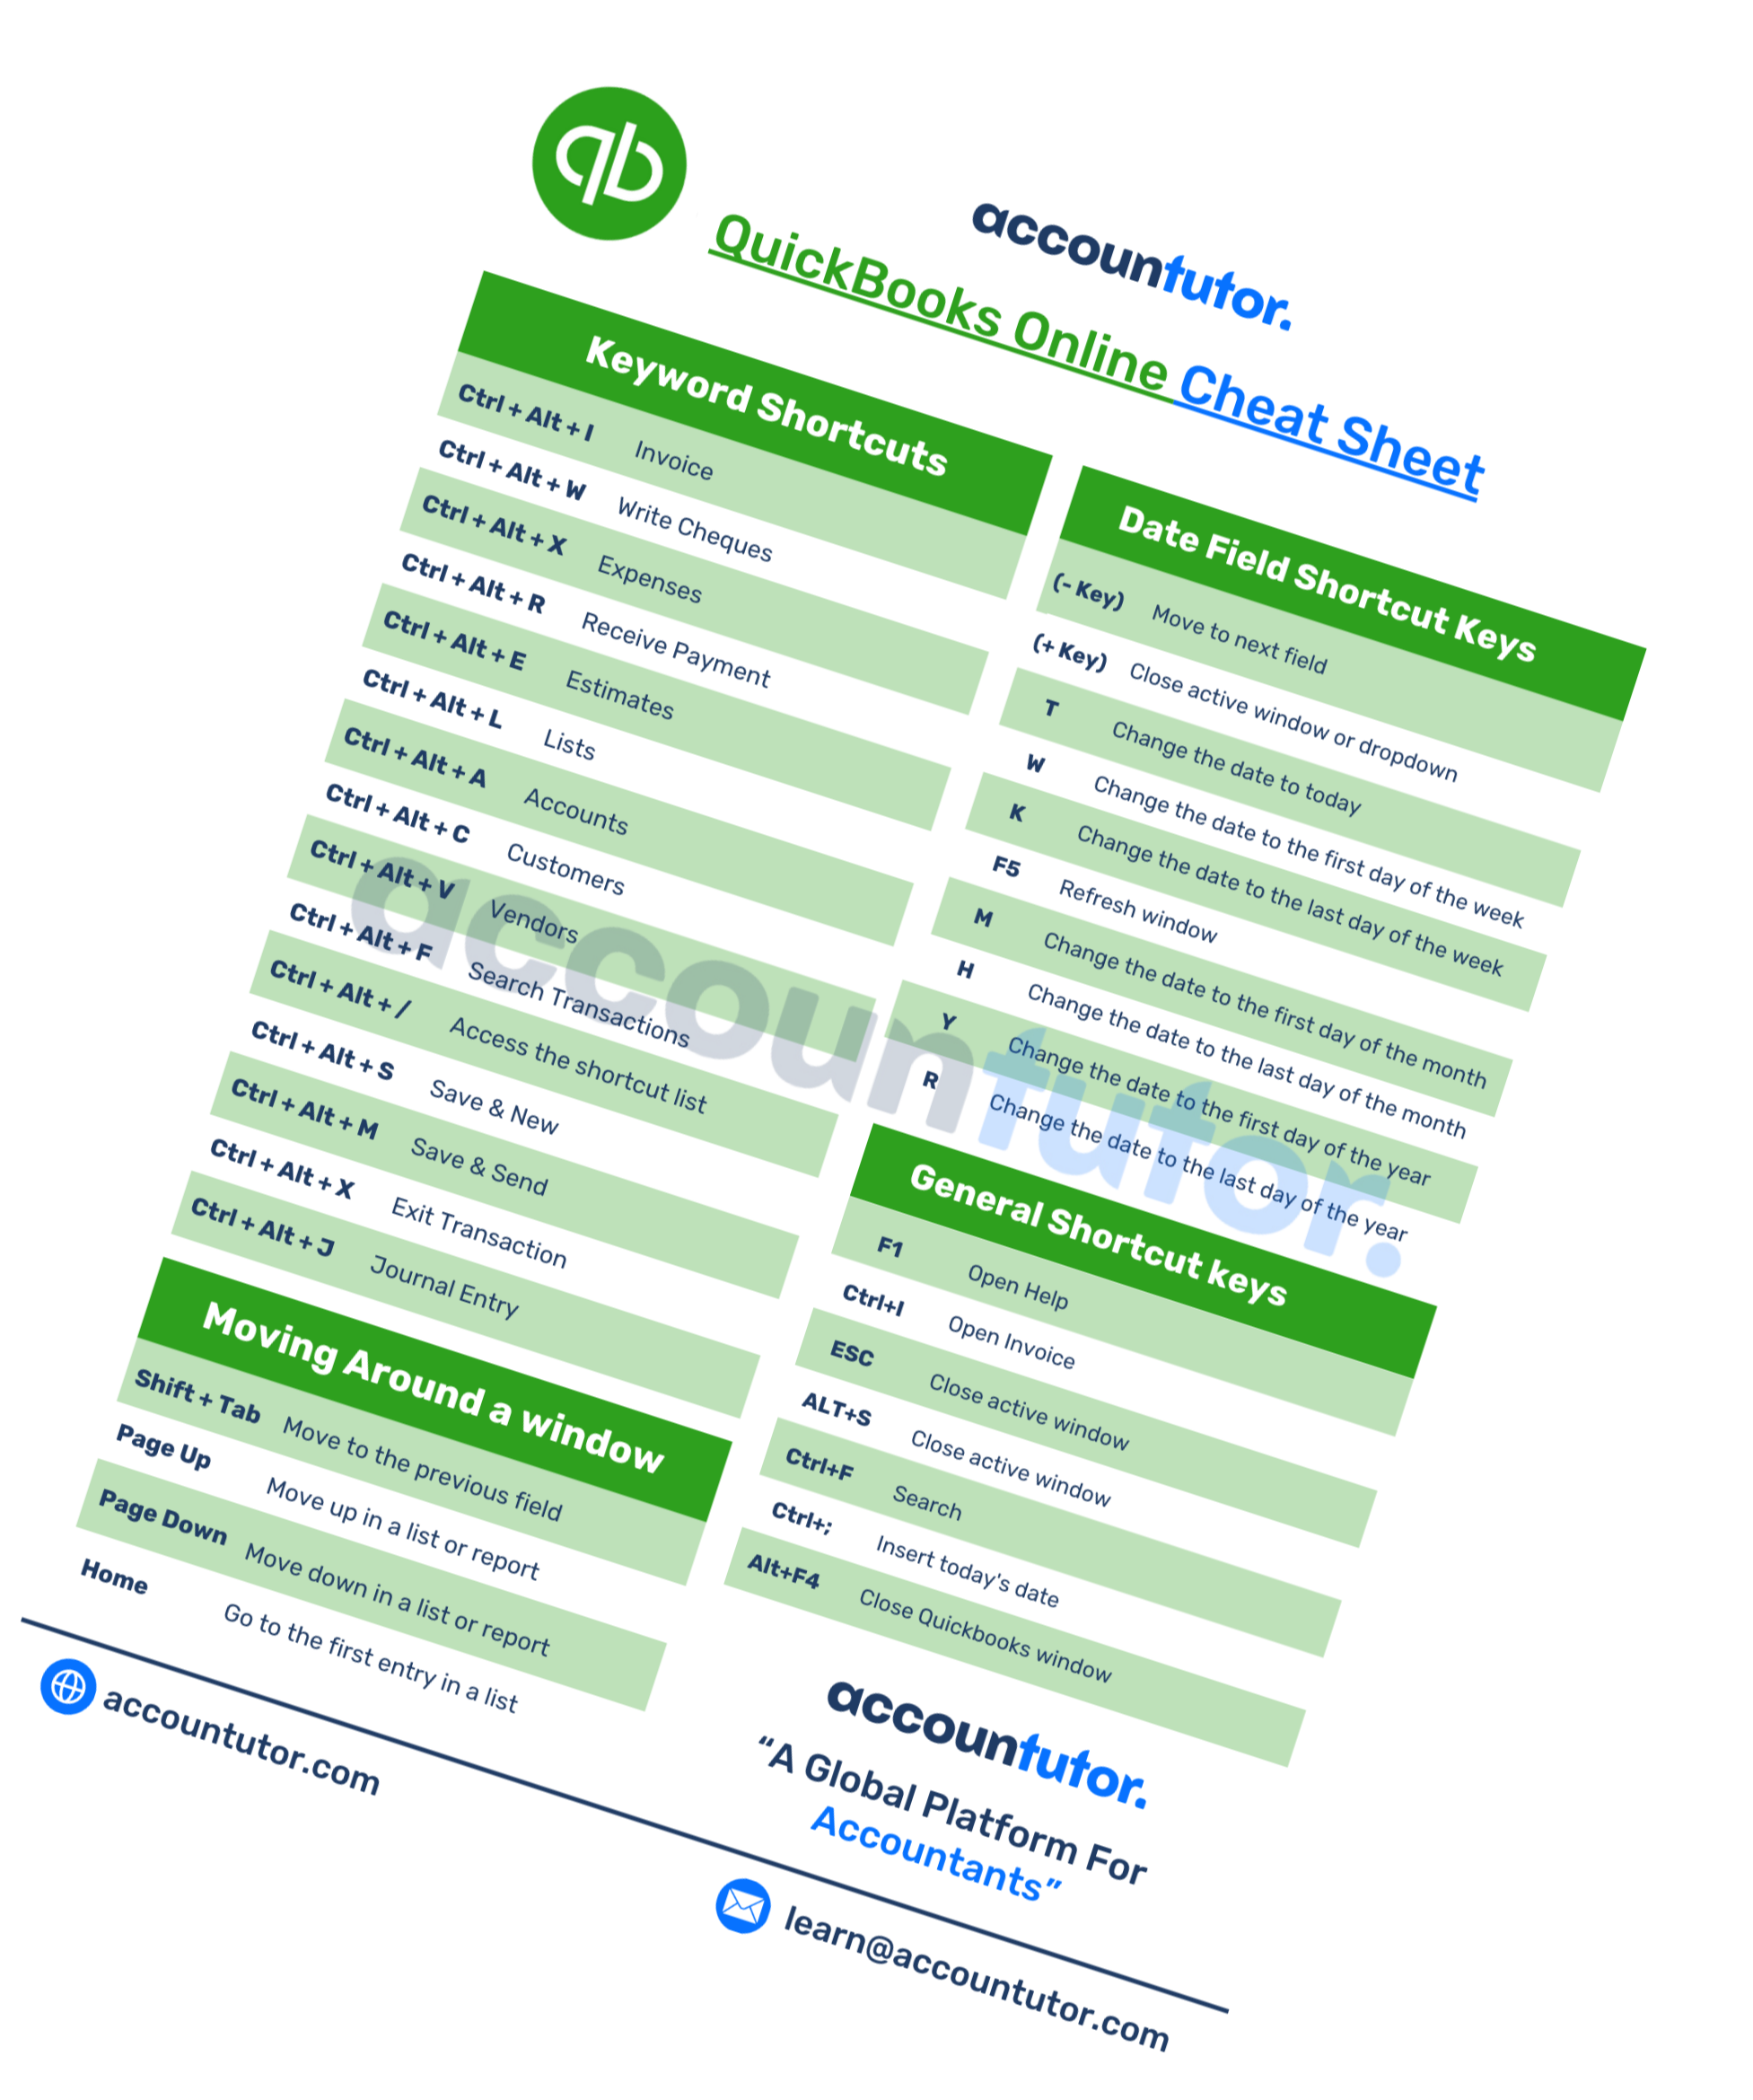
Download QuickBooks Online Cheat Sheet
Thank you!
Download ABCD of Accounting
Thank you!
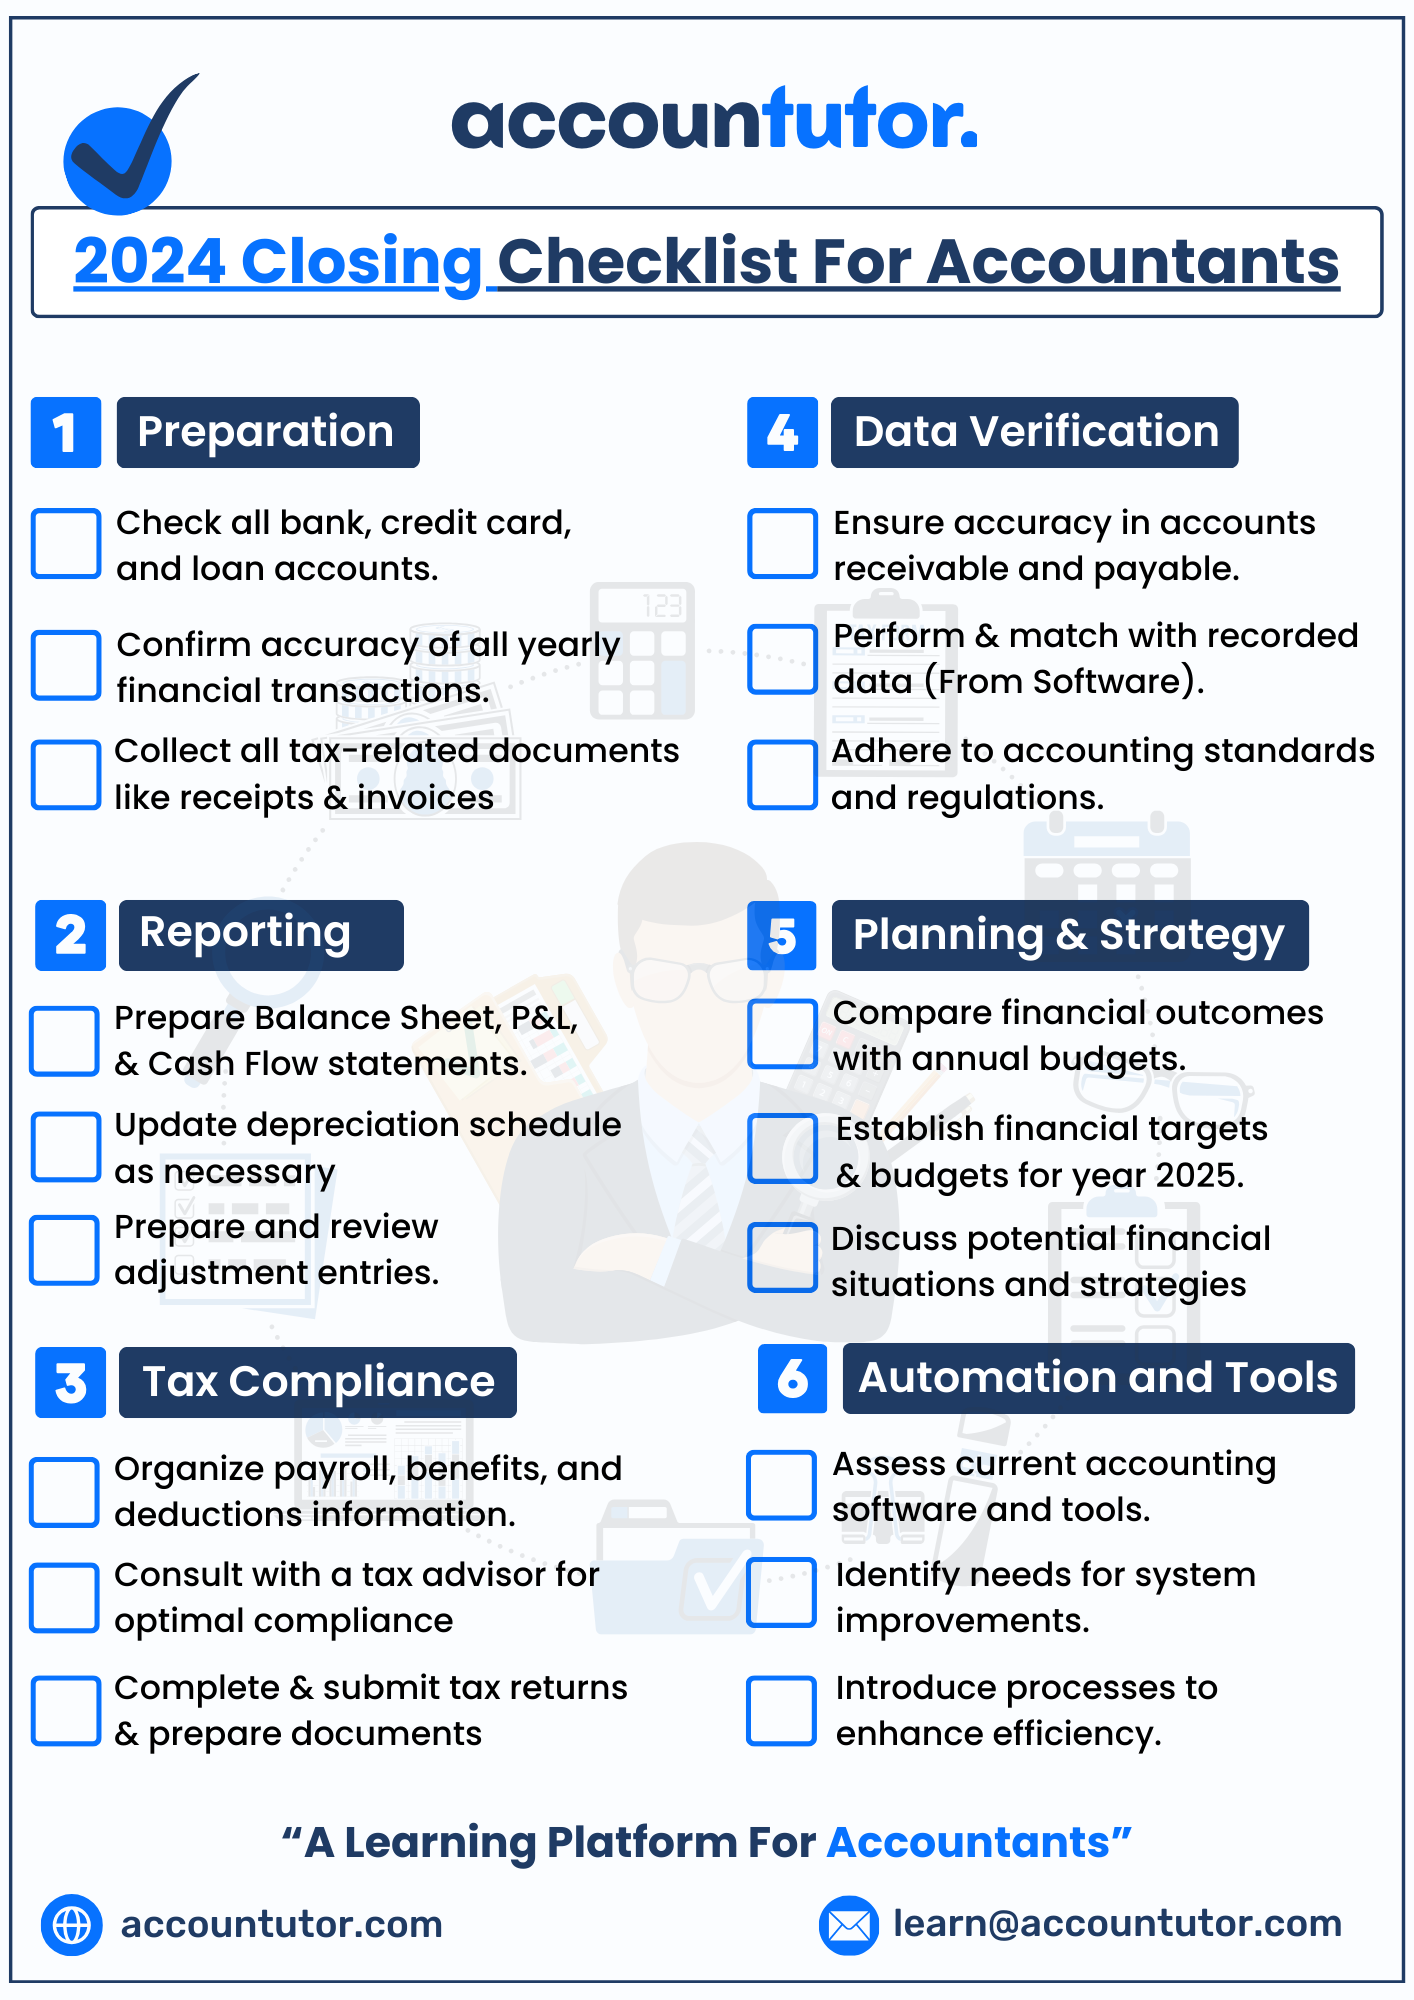
Download Checklist 2024
Thank you!
Register For Free!
Thank you!

Download Interview Questions
Thank you!
Register for this webinar: How to Master QuickBooks Online— Without Feeling Overwhelmed
7th JUNE 2025 | 8:00 AM PST | 11:00 AM EST
Thank you! The joining link will be sent to your email shortly!
Webinar joining link will be sent to your email address.
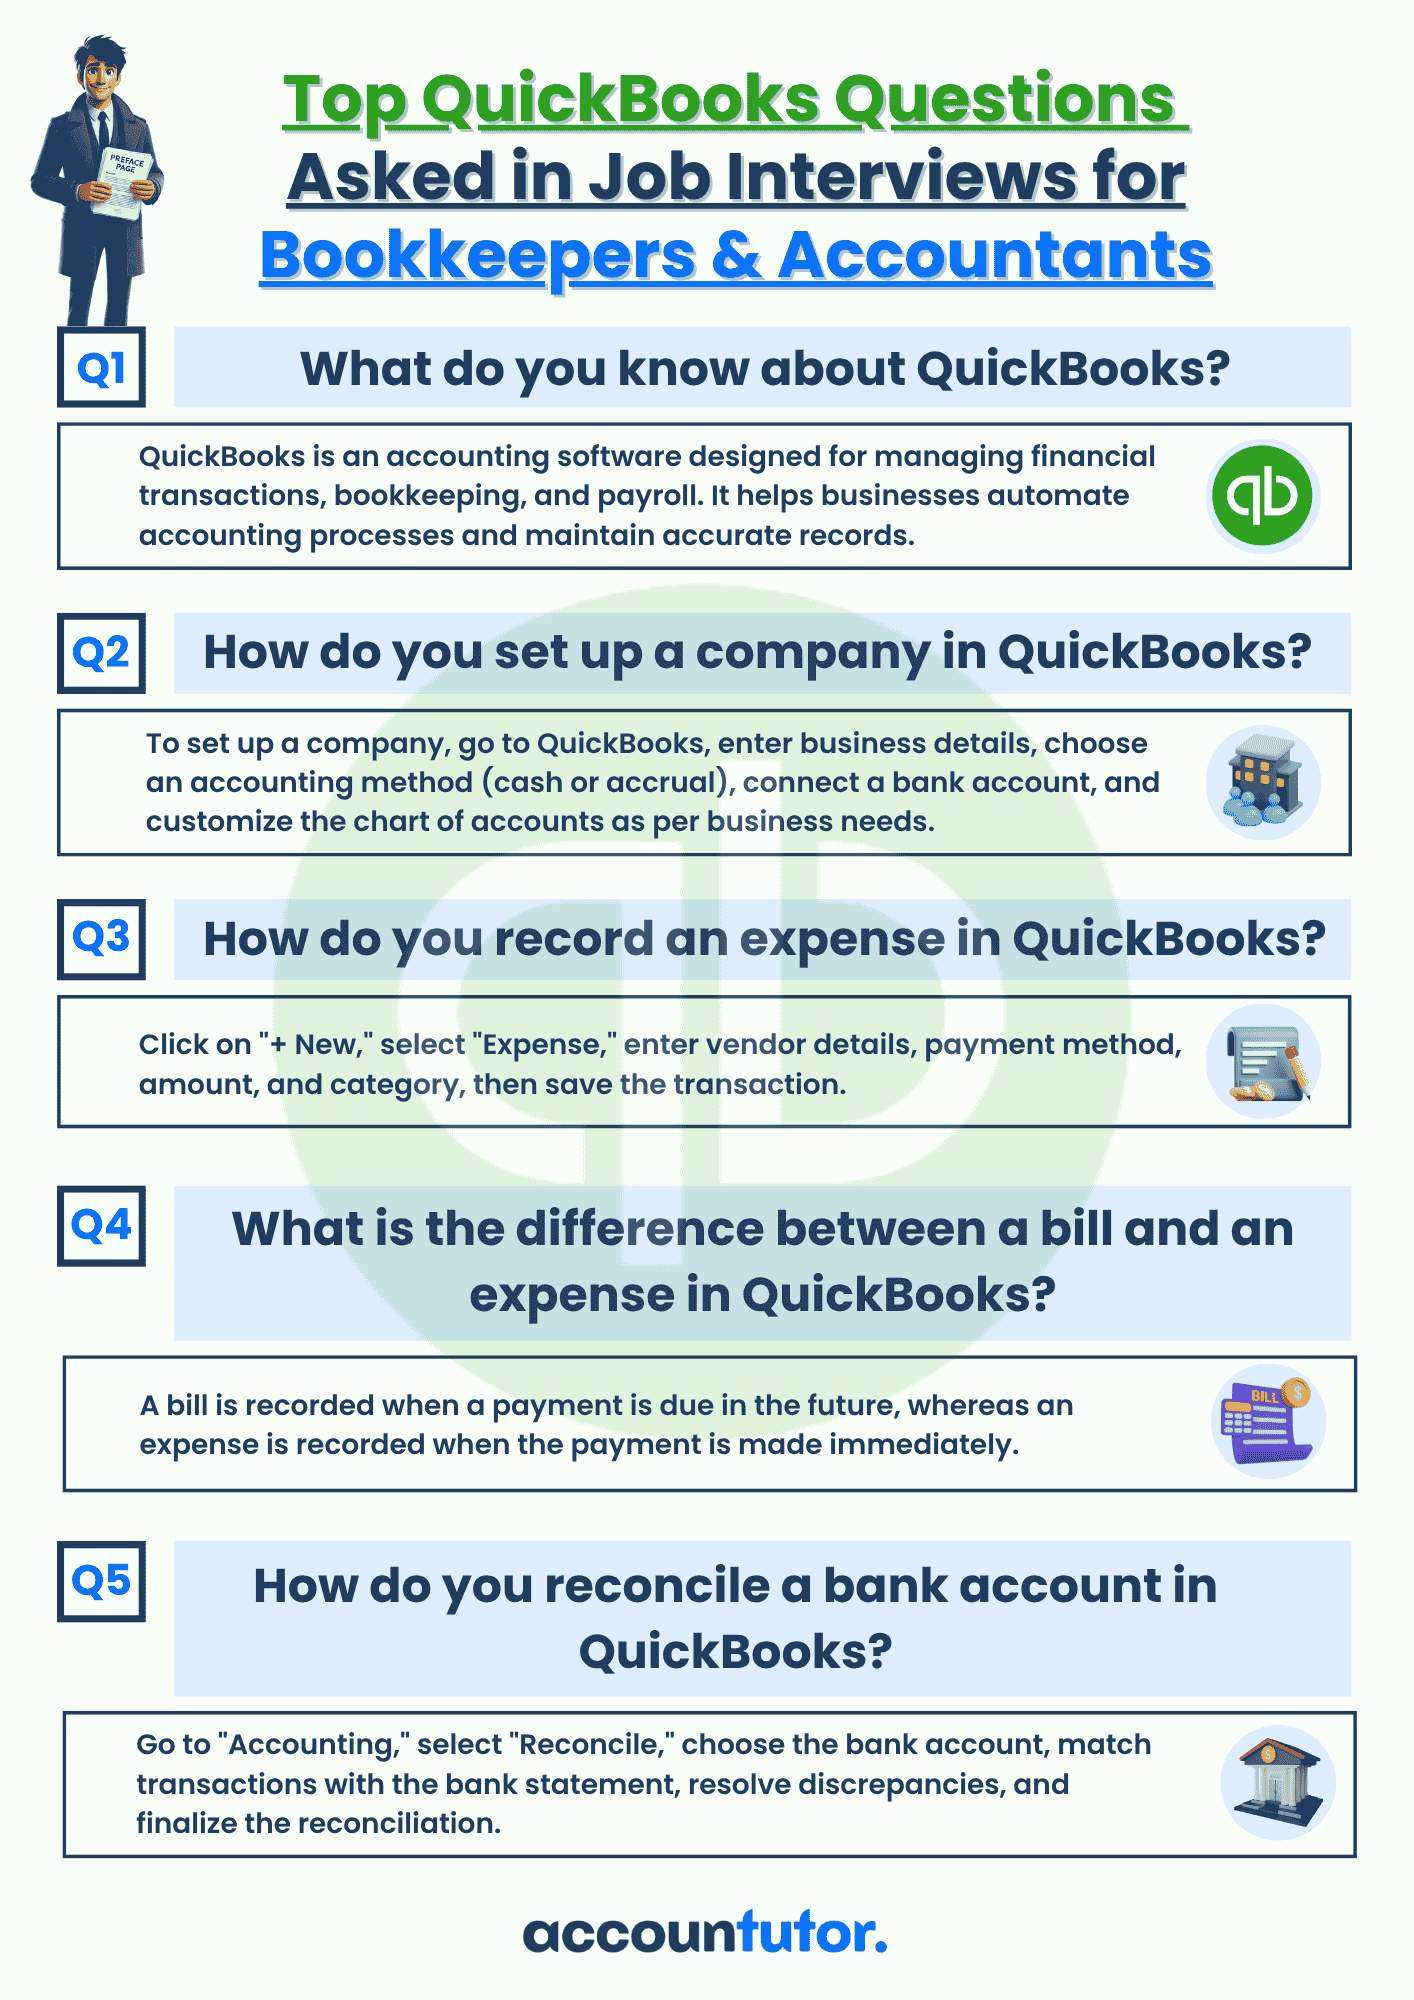
Download QBO Job Interview Questions and Answers PDF
Thank you!
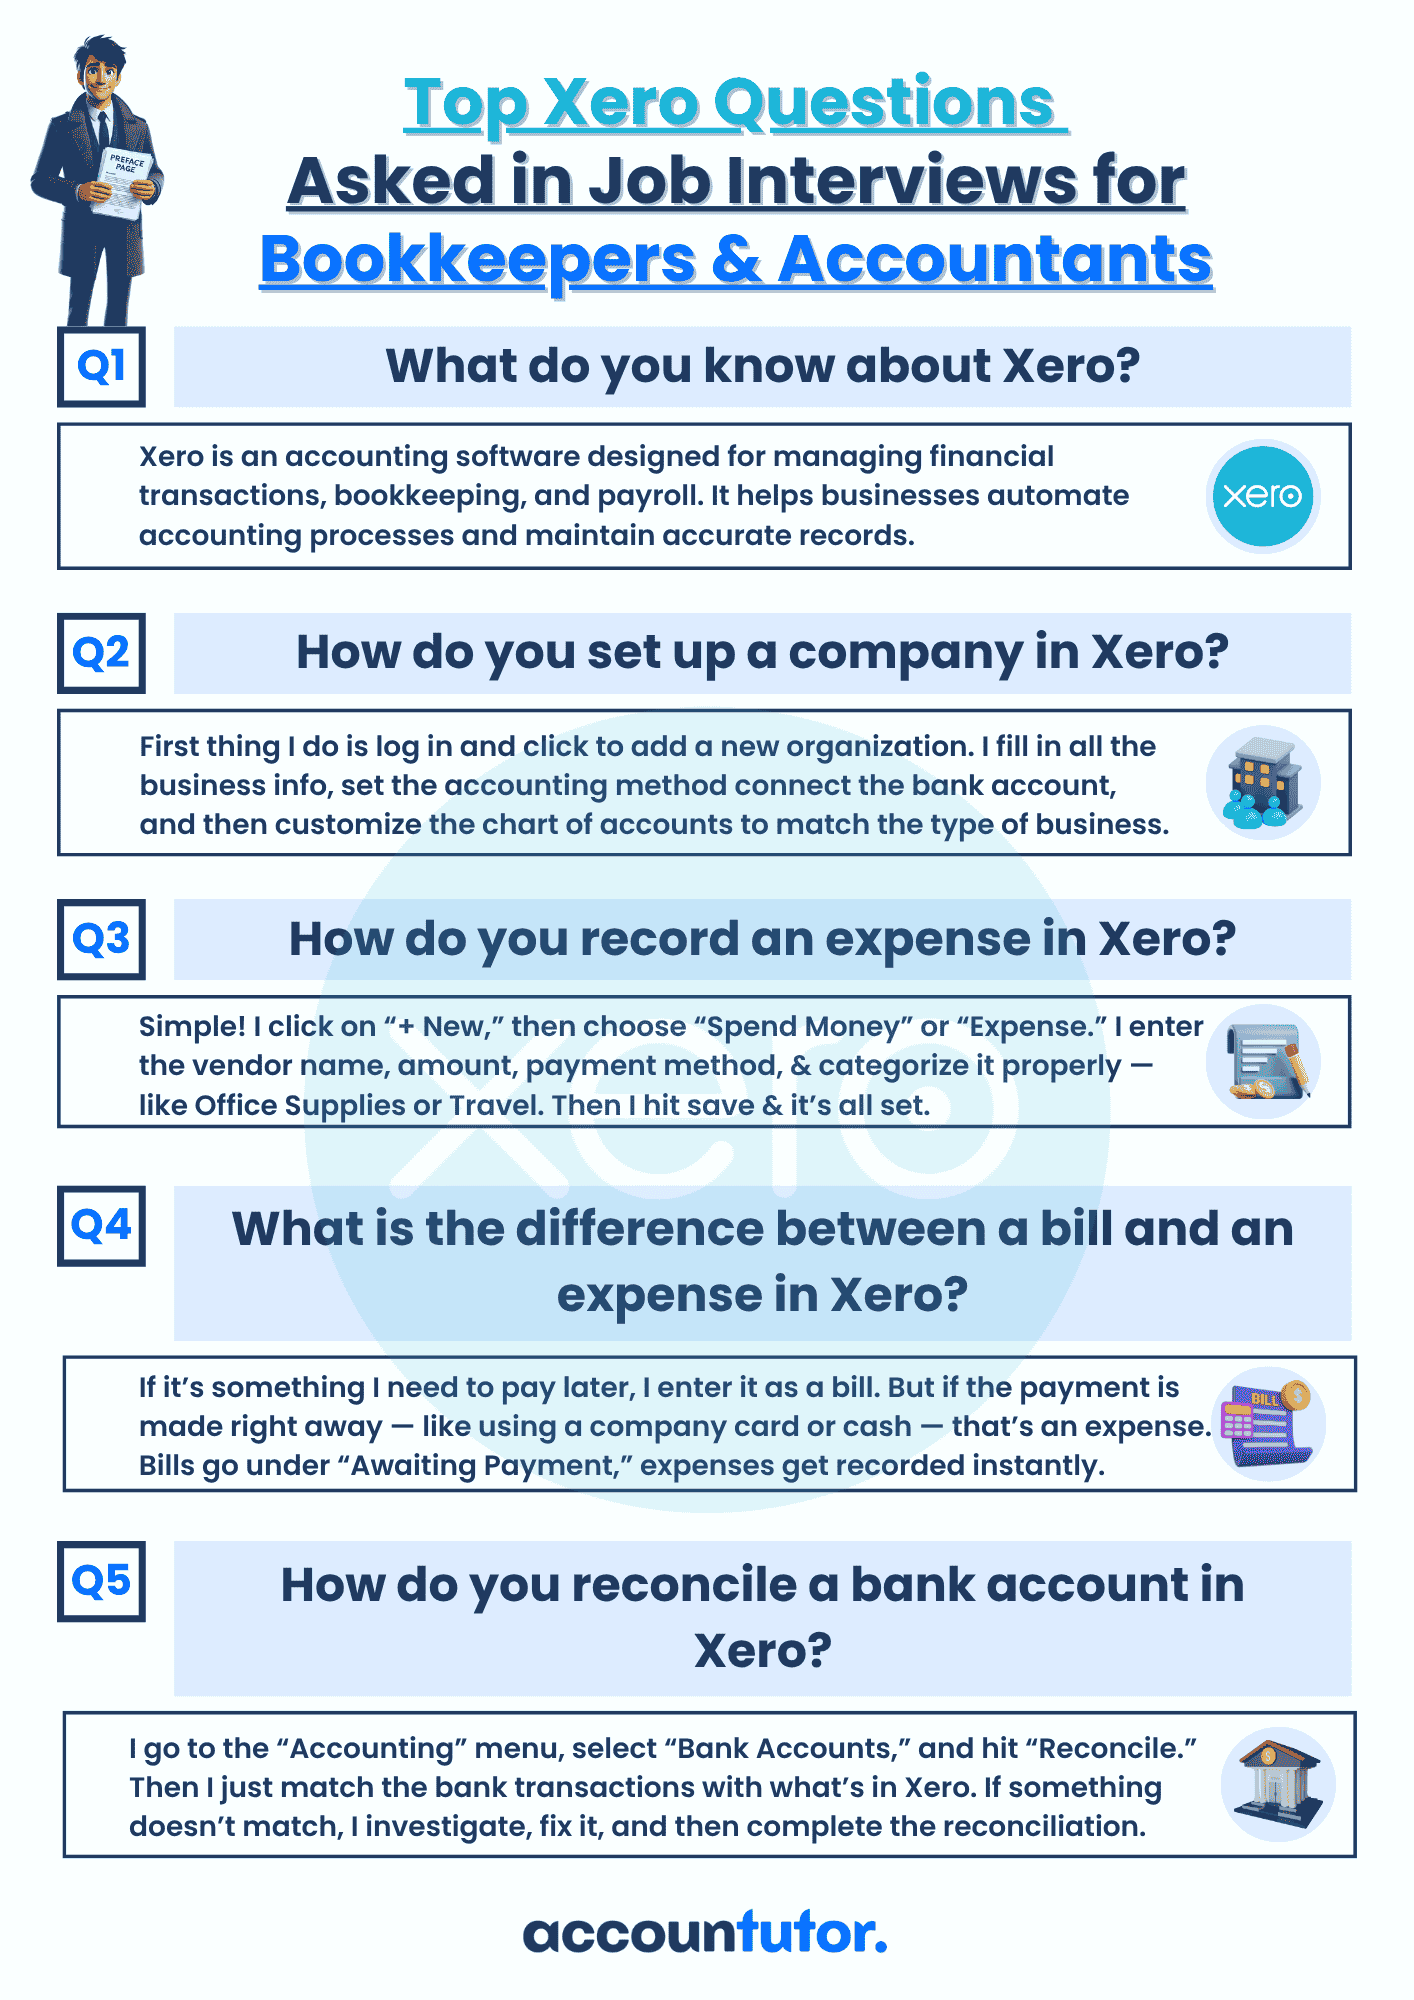
Download Interview Questions
Thank you!

Download 50 Interview Questions For Bookkeepers
Thank you!
Download QuickBooks Online Guidebook
Thank you!
Created with