How to Enter Bills in QuickBooks Online: A Step-by-Step Guide
Introduction
Imagine this: you're managing the accounts of a business, and one day, a bill lands in your hands. What do you do next? What exactly does this bill represent, and How should it be recorded in QuickBooks Online? Don’t worry—we’ll break it all down for you, starting with the basics.
Managing bills is a crucial part of bookkeeping, and QuickBooks Online makes it straightforward and efficient. Whether you’re tracking vendor payments or keeping your accounts payable organized, learning how to enter bills properly is essential. This step-by-step guide will walk you through the entire process, include tips, highlight common mistakes to avoid, and ensure your bookkeeping stays accurate.
Why Entering Bills Matters
1. Track expenses accurately.
2. Organize accounts payable for timely payments.
3. Generate accurate financial reports.
4. Avoid overpayments or missing due dates.
By entering bills correctly, you maintain a clear picture of your business’s financial health, ensuring smooth operations.
Step 1: Navigate to the “Enter Bills” Section in QuickBooks Online
From your dashboard, go to the + New button on the left-hand navigation bar.
2. Under the Vendors section, select Bill.
This will take you to the bill entry screen.
Tip: Make sure your vendors are already set up in QuickBooks. If not, you can add a new vendor directly from the bill entry screen.
Step 2: Enter Vendor Details
2. Fill in the Bill Date and Due Date fields. QuickBooks will use these dates to track payment deadlines.
Common Mistake: Forgetting to enter the due date can lead to overdue bills not being flagged, resulting in late payments.
Step 3: Add the Bill Details
2. Amount: Enter the exact amount of the bill, ensuring it matches the vendor invoice.
3. Description: Add a brief description to explain the expense (e.g., “Office Furniture Purchase”).
4. Tax: If applicable, select the tax rate for the bill. QuickBooks will calculate the tax amount automatically.
Tip: Use the Item Details section if the bill relates to products, such as inventory purchases. This keeps your inventory records updated.
Step 4: Attach Supporting Documents QuickBooks Online
Tip: Drag and drop the file directly into the attachment section to save time.
Step 5: Save the Bill
2. Click Save and Close if you’re done or Save and New to add another bill.
Common Mistake: Not double-checking the account or amount before saving can result in incorrect expense tracking.
Tips for Efficient Bill Management in QuickBooks Online
Enable Reminders: QuickBooks Online can remind you about upcoming bill payments, helping you avoid late fees.
Batch Entry: For bulk bills, consider importing them using QuickBooks Online’s batch transaction feature.
Common Mistakes to Avoid in QuickBooks Online
Entering
Bills Twice:
Always check if the bill is already recorded to avoid duplicate entries.
Ignoring
Vendor Setup:
Not assigning a vendor properly can lead to unorganized records.
Skipping
Attachments:
Keeping digital copies of bills attached is crucial for audits and resolving
disputes.
Using the Wrong Expense Account: Ensure you select the right category for better financial reporting.
Make Learning Easier with Resources
QuickBooks Help Center: Find articles and tutorials on various features.
QuickBooks Community: Join discussions and ask questions from experienced users.
Accountutor: Enroll in the Mastering QuickBooks Online course for comprehensive learning, including real-life scenarios and hands-on exercises.
You can checkout the QuickBooks Online Course here
Why Choose "Mastering QuickBooks Online" from Accountutor?
On-Demand Video Course
4.5 Hours
1 Year Access
Cases &
Practice Sets
Certification by:
accountutor.com
Join 350+ Accounting and Bookkeeping Professionals Mastering QuickBooks Online with accountutor.com
Accounting and Bookkeeping courses for you
Subscribe to our newsletter
Policy Pages
Join our Bookkeeping and Accounting Community
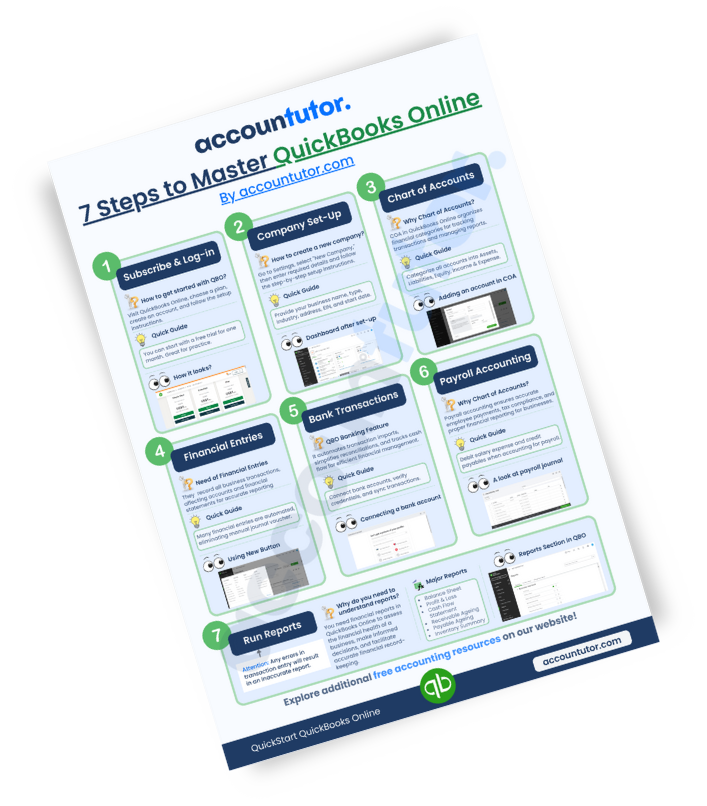

Register for this webinar: How to Master QuickBooks Online— Without Feeling Overwhelmed
